You have found the perfect piece of layered wooden wall art – now it needs the perfect spot on your wall. The good news: hanging it takes about 15 minutes and a few basic tools. This guide walks you through choosing the right place, hanging it straight, and keeping it looking beautiful for years.
What you will need
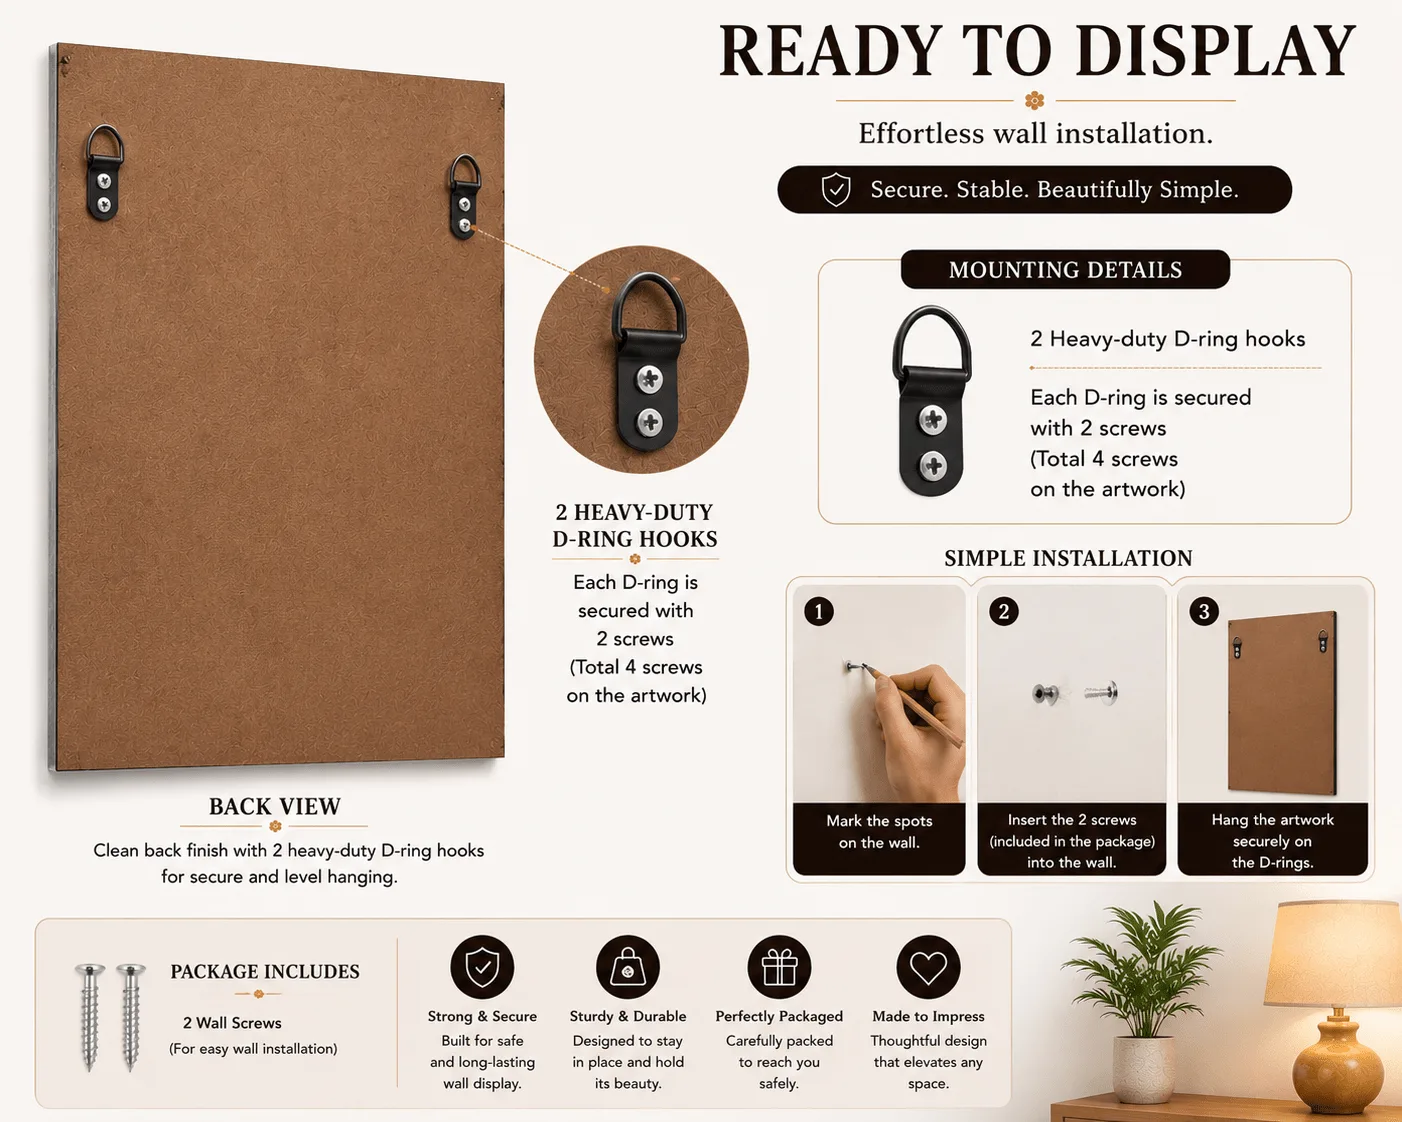
- The artwork (Embercut Studio pieces arrive fully assembled with heavy-duty D-ring hooks fitted on the back)
- The wall screws and plugs included in the box
- A drill with a masonry bit sized to the plugs (most Indian homes have brick or concrete walls)
- Measuring tape and a pencil
- A spirit level (or a level app on your phone)
- A helper – optional, but useful for larger pieces like the 700 × 480 mm Saxophone Mandala
Step 1: Choose the right spot
Layered art looks best where light falls across it from the side, because that is what creates the shadows between the layers. A wall next to a window, or one lit by a wall lamp, works beautifully.
- Height: hang it so the centre of the artwork is roughly at eye level – about 145–155 cm from the floor.
- Above a sofa or console: leave a gap of about 20–30 cm between the furniture and the bottom of the artwork.
- Width: the artwork should be roughly half to two-thirds the width of the furniture beneath it.
- Avoid: spots with direct afternoon sun, and damp areas like bathrooms or right above a cooking stove.
Step 2: Measure and mark
- Measure the distance between the two D-ring hooks on the back of the artwork.
- Measure how far the hooks sit below the top edge of the artwork.
- On the wall, mark where you want the top edge to be, then mark the two hook positions below it using your measurements.
- Use the spirit level to make sure both marks are exactly level.
Step 3: Drill and fix the screws
- Drill a hole at each mark, slightly deeper than the plug length.
- Tap the plugs in until they sit flush with the wall.
- Screw in the screws, leaving about 5–8 mm sticking out so the D-rings can rest on them.
Step 4: Hang and level
Lift the artwork, hook both D-rings over the screws, and check it with the level one last time. Small adjustments can be made by turning a screw in or out slightly. Two fixing points keep the piece straight and stop it from tilting over time.
How to care for wooden wall art
- Dust gently: use a soft, dry brush (a clean makeup or paint brush is perfect) or a microfibre cloth. A brush reaches between the layers without catching on fine details.
- No water or sprays: never use wet cloths, glass cleaner or polish on the artwork.
- Watch the humidity: keep it away from steam, damp walls and leaking windows, especially during the monsoon.
- Limit direct sun: strong direct sunlight over long periods can fade painted layers.
- Handle by the edges: if you need to move it, hold the outer frame or edges rather than the raised details.
Frequently asked questions
Can I hang it without drilling?
Heavy-duty adhesive hooks rated well above the artwork’s weight can work on smooth, painted walls, but for larger or heavier pieces we recommend screws and plugs for safety.
Is layered wooden wall art suitable for outdoor use?
No – our pieces are designed for indoor use only.
What if my artwork arrives damaged?
Contact us within 48 hours of delivery with photos and your order number, and we will arrange a replacement or refund as per our Refund and Returns Policy.
Ready to decorate? Browse our living room wall art or read how each piece is made.